Mastering Light in Photography: Natural vs. Artificial
Light is the essence of photography. The word "photography" itself comes from Greek roots meaning "drawing with light." Understanding and mastering different light sources is arguably the most crucial skill a photographer can develop. In this comprehensive guide, we'll explore both natural and artificial light, their characteristics, advantages, and how to blend them for stunning results.
Part 1: Understanding Natural Light
Natural light offers incredible variety and nuance that can transform an ordinary scene into something extraordinary. Let's explore the different qualities of natural light throughout the day.
Golden Hour: The Photographer's Magic Time
Portrait taken during golden hour showing warm, directional light
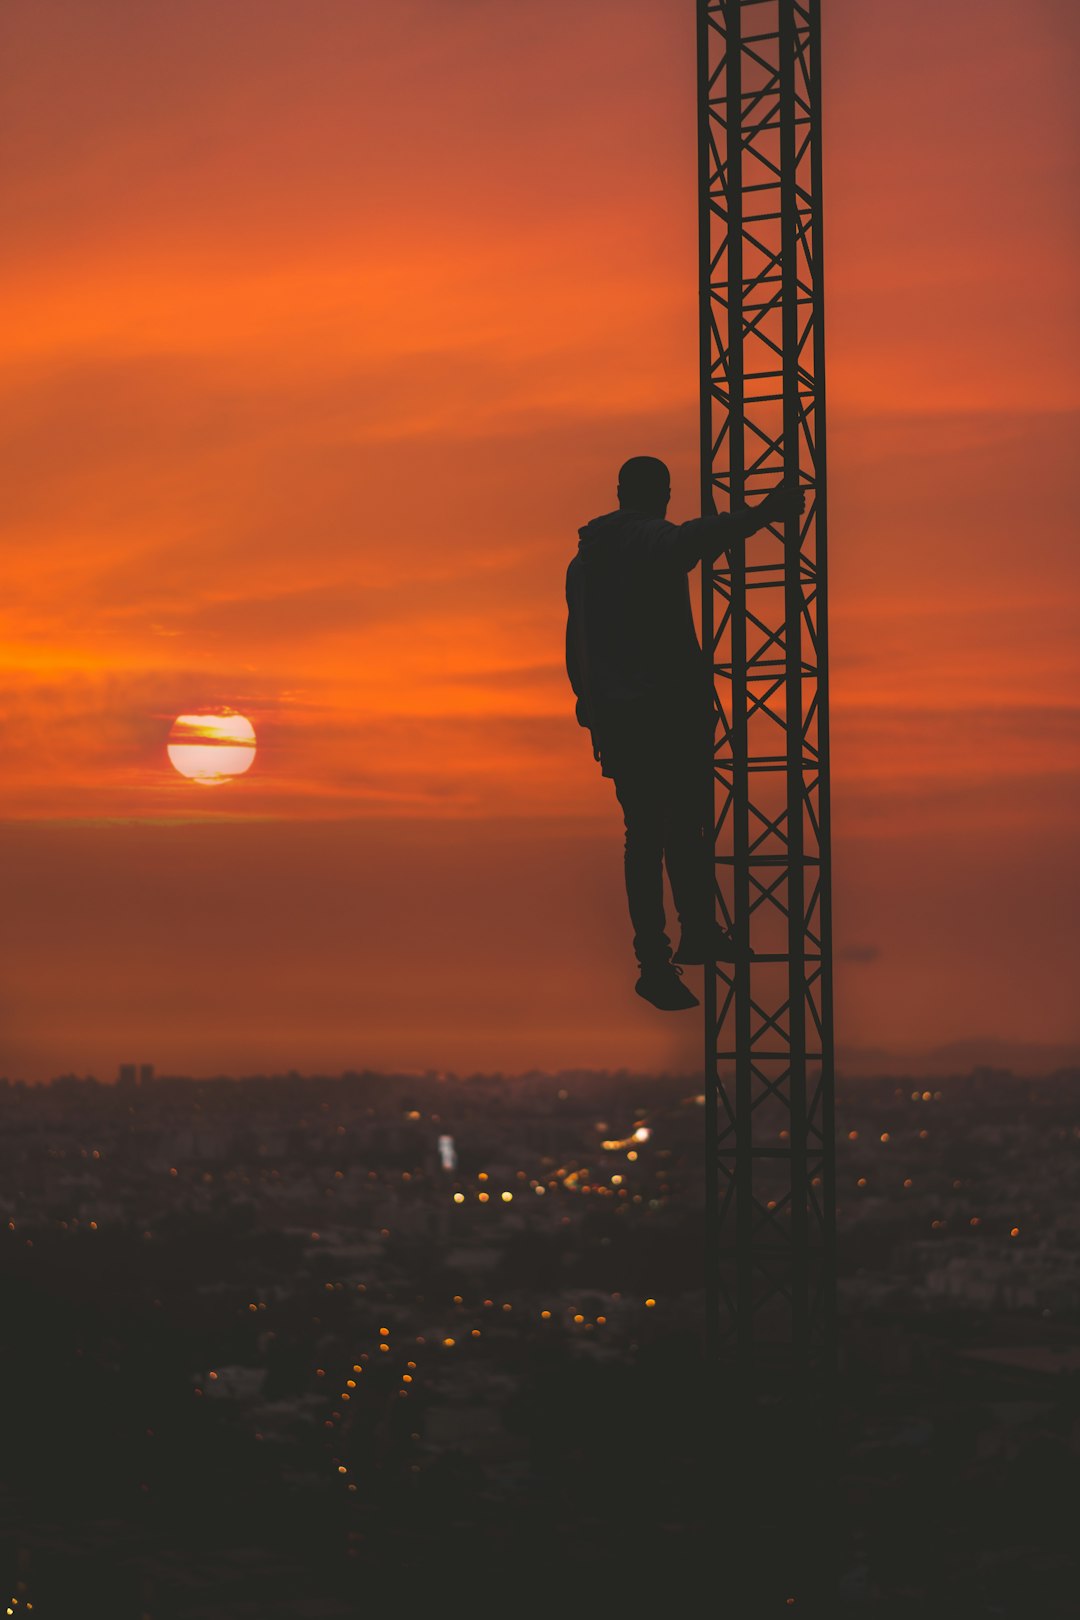
The hour after sunrise and before sunset creates some of the most beautiful natural light for photography. During golden hour:
- Light is warm and golden, creating a flattering glow on skin tones
- Shadows are long but soft, adding dimension without harsh contrast
- The low angle of the sun creates dramatic directional light
- Backlighting creates beautiful rim lighting and the opportunity for silhouettes
For portraits, position your subject so the low sun illuminates them from the side or slightly behind them (with their face turned toward you). This creates beautiful modeling on their features while maintaining detail in the shadows.
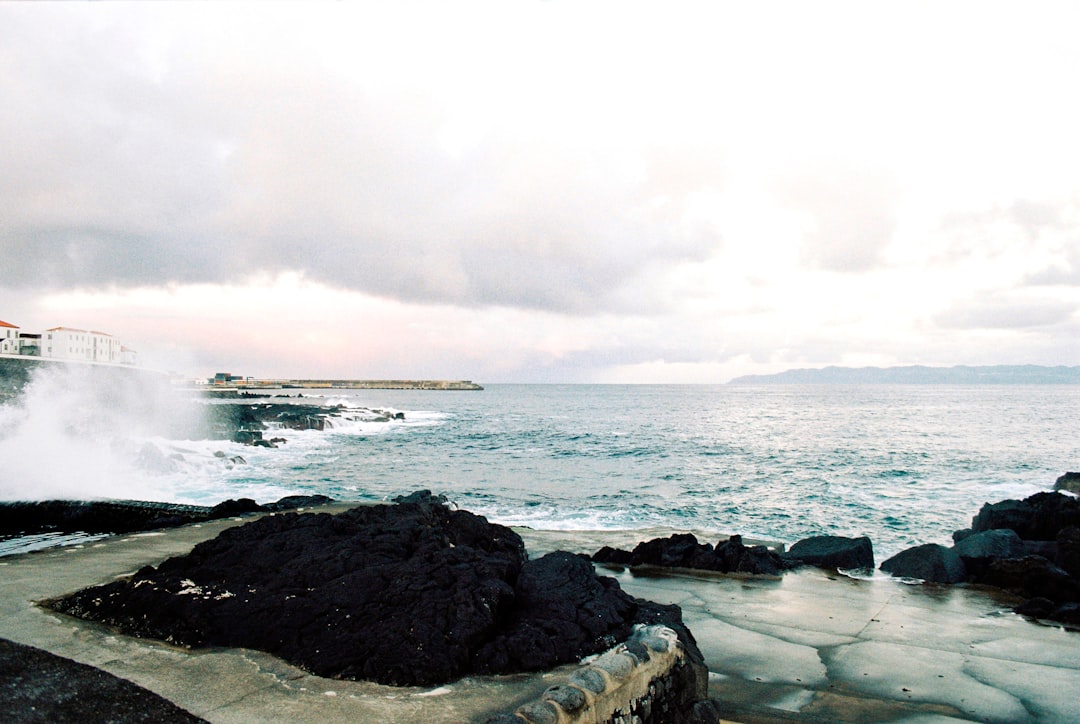
For landscapes, the low-angled light creates texture and dimension by casting long shadows that reveal the contours of the land. The warm color temperature adds emotional impact to your scenes.
Blue Hour: The Subtle Transition
Blue hour occurs just before sunrise and after sunset when the sky takes on deep blue tones. This brief window offers:
- Soft, diffused light with minimal shadows
- Cool blue tones that can create a calm, peaceful mood
- The perfect balance for shooting cityscapes as artificial lights begin to glow against the blue sky
During blue hour, longer exposures are often necessary. A tripod becomes essential, allowing you to capture the rich blue tones of the sky while maintaining sharpness in your images.
Midday Sun: Working with Challenging Light
Many photographers avoid shooting during midday hours when the sun is high, but with the right techniques, you can still create compelling images:
- Look for open shade under trees or buildings to escape harsh direct light
- Use a diffuser to soften direct sunlight on your subject
- Embrace high contrast for dramatic black and white images
- Position subjects with the sun behind them and use reflectors or fill flash to illuminate their faces
Midday light can be particularly effective for architectural photography, where the high sun reduces shadows and reveals details in building facades. For landscapes, consider converting to black and white to take advantage of the high contrast.
Overcast Days: Nature's Softbox
Portrait taken under overcast conditions showing soft, even lighting
Cloudy days provide soft, diffused light that's perfect for:
- Portraits with even, flattering light
- Revealing color and detail without harsh shadows
- Woodland and forest photography where contrast can be challenging
- Product photography requiring soft, even illumination
When shooting on overcast days, be mindful of the flat, often dull quality this light can create. Add depth by positioning your subject to catch what directional light exists, or by introducing artificial light sources to create subtle modeling.
Part 2: Working with Artificial Light
While natural light has irreplaceable qualities, artificial light gives photographers precise control regardless of time or weather conditions. Let's explore different types of artificial lighting and how to use them effectively.
Speedlights/Flashguns: Portable Power
These small, portable flashes offer remarkable versatility:
- Can be used on-camera or positioned off-camera with triggers
- Light modifiers like softboxes and diffusers can shape the quality of light
- TTL (Through The Lens) metering automates exposure calculations
- High-speed sync allows flash photography at fast shutter speeds
For the most flattering results, avoid using on-camera flash pointed directly at your subject. Instead, bounce the flash off walls or ceilings to create softer light, or use off-camera flash with modifiers to shape light quality.
Studio Strobes: Consistent Power

Studio lighting setup with softboxes and reflectors
Studio strobes provide more power and often faster recycling times than speedlights:
- Higher power output allows for smaller apertures and lower ISO settings
- Modeling lights help visualize how the light will fall before taking the photo
- More consistent output for precise exposure control
- Wider range of modifiers available for creative lighting effects
When setting up studio lighting, start with a single light source and understand its effect before adding additional lights. A classic one-light setup positions the main light at a 45-degree angle to your subject, slightly above eye level, creating pleasing shadows that reveal form.
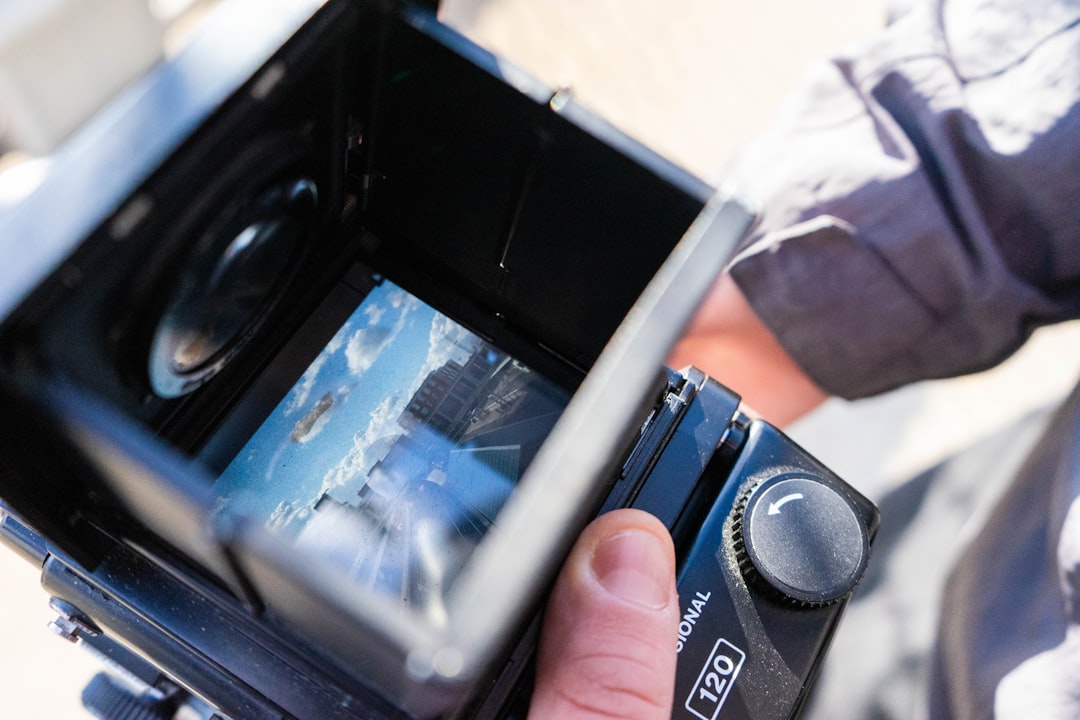
Continuous Lighting: What You See Is What You Get
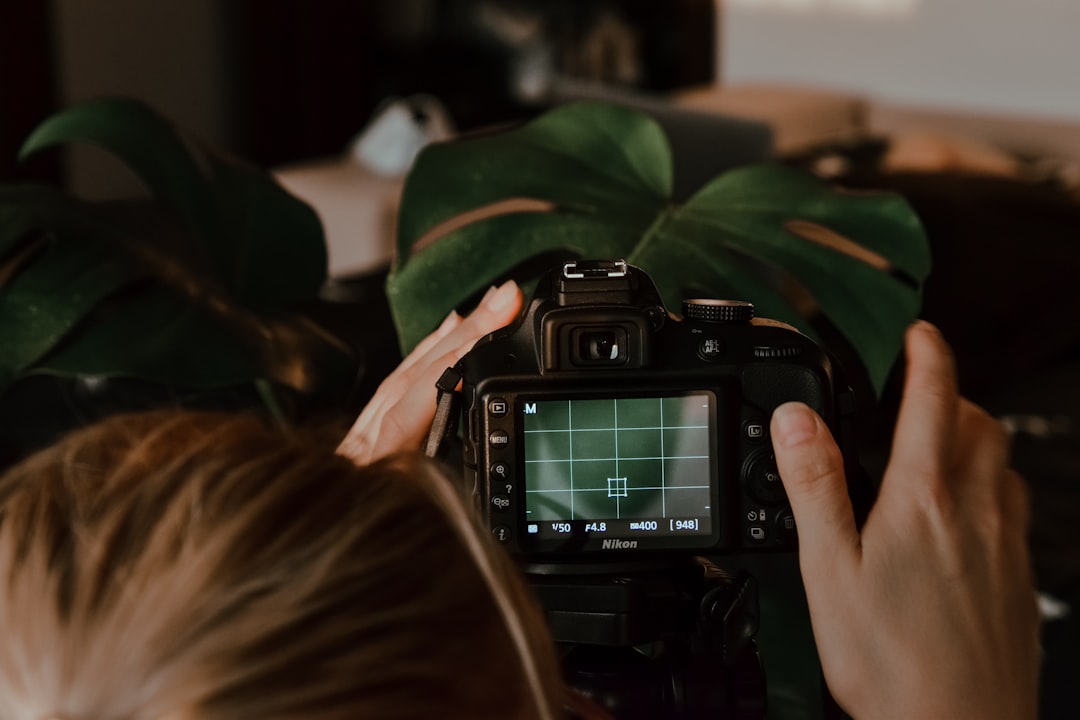
Continuous lights stay on constantly, allowing you to see exactly how the light falls on your subject:
- Ideal for beginners learning to see and shape light
- Perfect for video work where flash isn't applicable
- LED options provide daylight-balanced lighting with low heat output
- Allows for precise adjustment of light and shadow in real time
The main drawback of continuous lighting is that it typically offers less power than flash, which may require higher ISO settings or wider apertures. However, modern LED panels are increasingly powerful while remaining energy efficient.
Light Modifiers: Shaping Your Light
The quality of light is determined less by the source than by how you modify it:
- Softboxes diffuse light, creating soft shadows and flattering illumination
- Umbrellas spread light widely, useful for group shots or large scenes
- Beauty dishes create a balance between soft and hard light, ideal for fashion and portrait work
- Grids focus light into a narrow beam, preventing spill and creating dramatic spotlight effects
- Snoots create tight, concentrated beams of light for highlighting specific areas
- Gels add color to your light sources for creative effects or to match ambient lighting
Experiment with different modifiers to understand how they shape light and the emotional impact they create. The size of your light source relative to your subject determines the softness of the light—larger sources create softer light with more gradual transitions between light and shadow.
Part 3: Blending Natural and Artificial Light
Some of the most compelling photography combines the authenticity of natural light with the control of artificial sources. Here are techniques for blending both worlds:
Fill Flash: Supporting Natural Light

Example of fill flash used to balance strong backlighting
Fill flash adds light to shadows while maintaining the character of natural light:
- Reduces harsh contrast in bright, directional sunlight
- Illuminates subjects in backlit situations without losing the beautiful rim lighting
- Can be dialed down to subtly open up shadows without an obvious "flashed" look
For subtle fill flash, try setting your flash to -1 or -2 stops below the ambient exposure. This preserves the natural look while providing just enough fill to reveal detail in shadows.
Flash as Main Light, Ambient as Fill
In dimly lit environments, you can use flash as your primary light source while allowing ambient light to fill the background:
- Creates a balance between subject and environment
- Prevents the "floating in darkness" effect common with flash-only photos
- Maintains the mood and context of the location
To achieve this balance, meter for the ambient light first, often underexposing slightly (by 1-2 stops) to maintain atmosphere. Then add flash, typically through a modifier, to illuminate your subject.
Balancing Color Temperatures
Natural and artificial light often have different color temperatures, which can create mismatched colors in your images:
- Use CTO (Color Temperature Orange) gels on flash to match warm indoor lighting
- Use CTB (Color Temperature Blue) gels to match daylight when working with tungsten lights
- Set custom white balance to match your main light source
- Alternatively, embrace the color contrast for creative effect
Sometimes, intentionally mismatched color temperatures can create striking images—cool flash on a subject against a warm sunset, for example, can create visual separation and mood.
Practical Exercises to Master Light
- Golden Hour Portrait Study: Photograph the same subject in different positions relative to the sun during golden hour. Compare side lighting, backlighting, and front lighting.
- One Light Challenge: Using a single light source (speedlight or continuous light), create three distinctly different lighting setups by changing the position and modifiers.
- Shadow Study: Photograph a simple object (like an egg or sphere) under different lighting conditions, focusing on how shadows reveal form.
- Natural/Artificial Blend: In a room with windows, practice balancing daylight with flash or continuous light until the artificial source is indistinguishable.
Conclusion: Developing Your Eye for Light
Mastering light is a lifelong journey for photographers. The technical aspects can be learned relatively quickly, but developing an eye for quality, direction, and emotional impact of light takes practice and observation.
Begin by studying how light naturally falls in the world around you. Notice how late afternoon sun streams through windows, how light reflects off surfaces, how shadows form and transition. This awareness will inform your photographic decisions whether you're working with natural light, artificial light, or a blend of both.
Remember that rules and techniques are starting points, not limitations. Once you understand the principles, you can bend or break them for creative effect. The best photographers don't just control light—they use it to express emotion and tell stories.
Whether you prefer the authenticity and unpredictability of natural light or the precision and control of artificial sources, developing your understanding of light will transform your photography and open new creative possibilities.
You May Also Like
The Art of Composition: Rules and When to Break Them
Learn the fundamental rules of composition in photography, and understand when and how to break them for creative impact.
Read More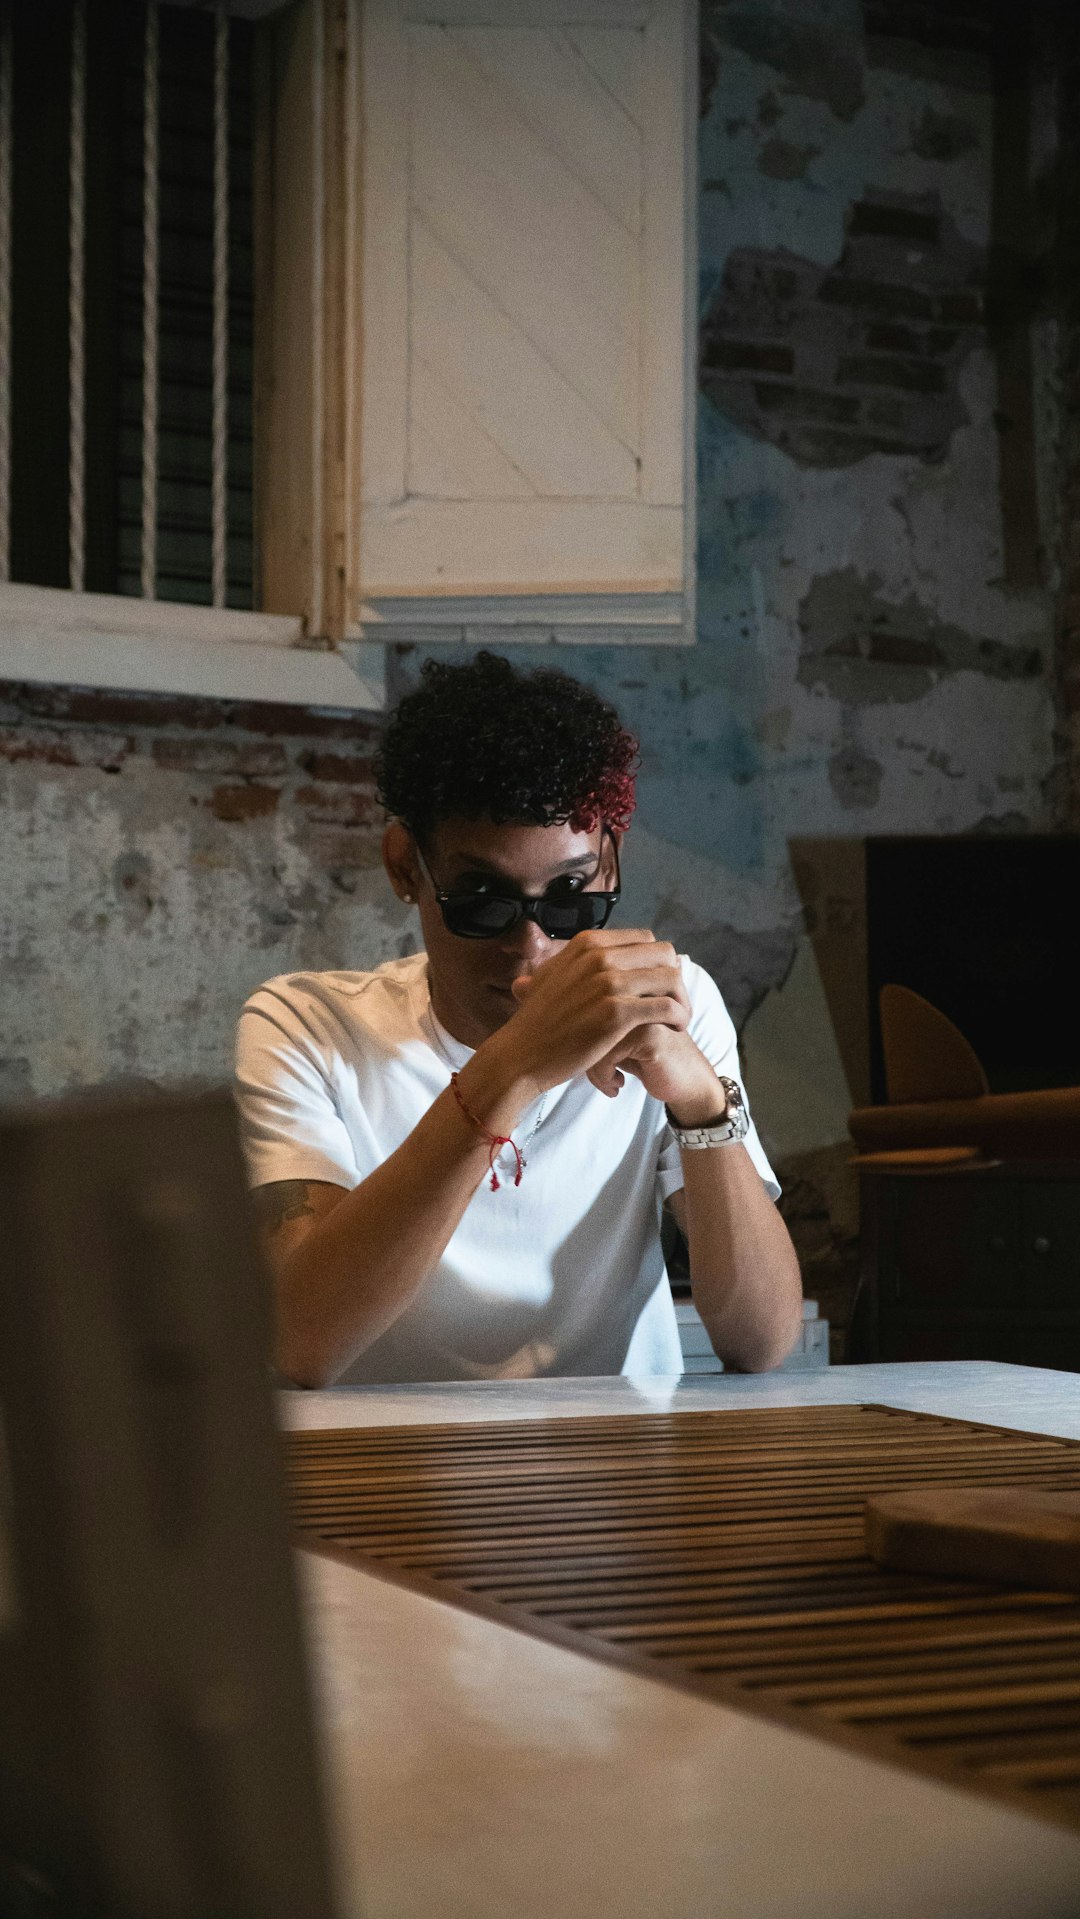
Portrait Photography Tips: Capturing Personality and Emotion
Expert advice on capturing authentic portraits that reveal personality and emotions.
Read More
Essential Camera Gear: What You Need vs. What You Want
A practical guide to building your photography kit with essential equipment.
Read More